

Clear every shelf using a simple five step process that takes two hours. Pull everything out by section, toss expired items, clean the shelves, group your tools, and reload your spaces. This plan stops the mess from returning and leaves you with smooth, open counters.
How do I clear out kitchen cabinets fast?
Start with three plastic laundry baskets and a trash bag on the floor. Work on one section of your kitchen at a time so your counters do not stay messy for long. Take everything out of the upper cabinets first and place every item into a pile on your table.
Do not try to clean the entire room at once. Spend twenty minutes on coffee cups, twenty minutes on spices, and thirty minutes on your cooking pans. Working in small groups keeps the job easy to finish in one morning. This targeted focus is the basis of professional organizing.
Step 1: Empty one section completely
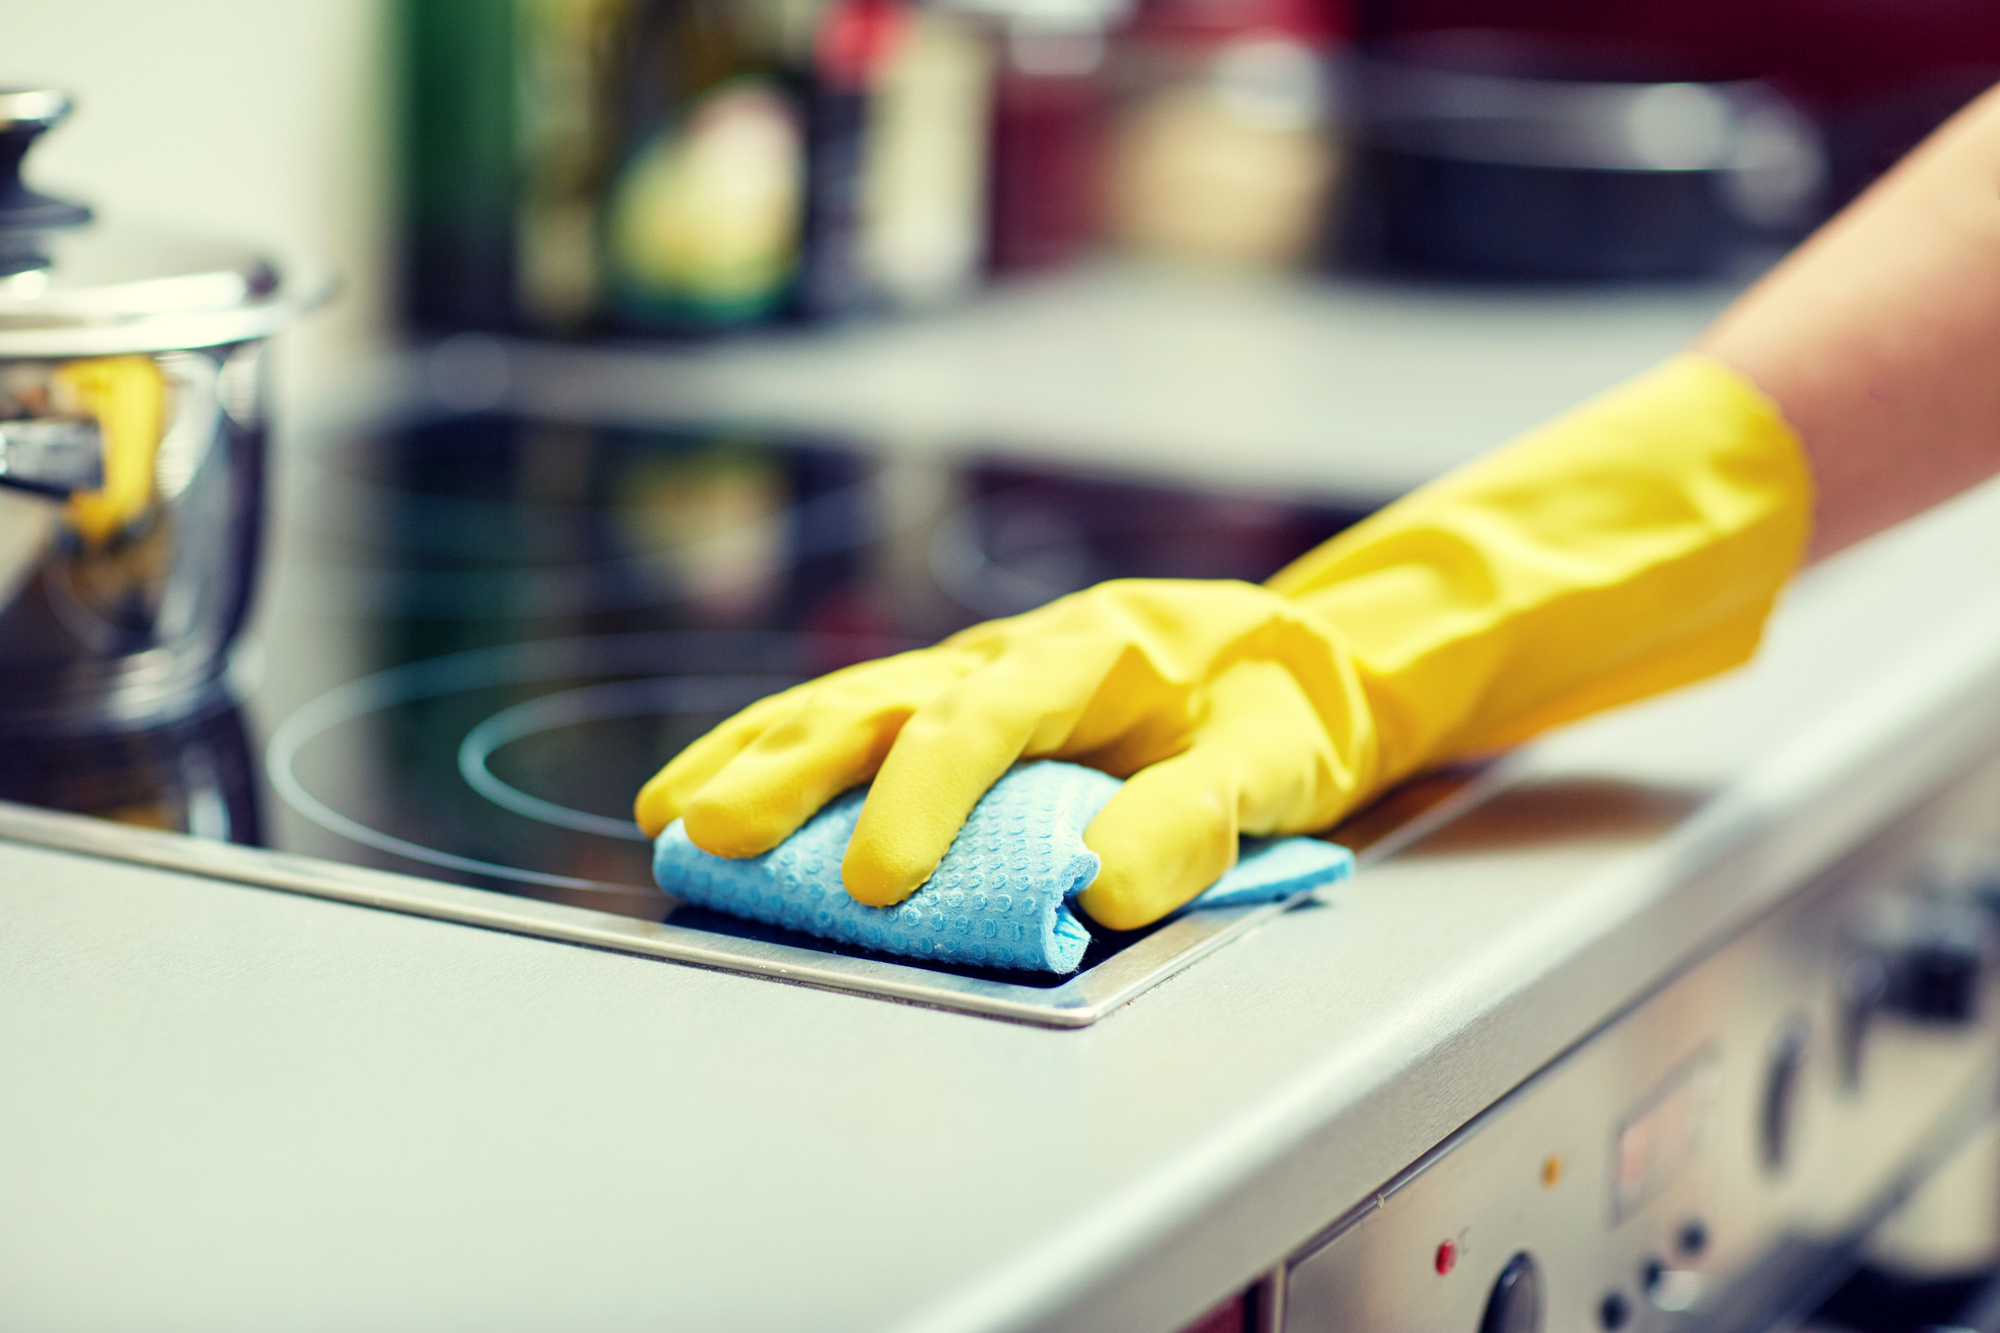
Take every single item out of the chosen cabinet until the wood or lining is bare. Wipe down the interior surfaces with a warm damp cloth and mild soap to remove dust, flour, and grease patches. Dry the shelves with a clean towel before you put anything back inside.
Group items into four distinct areas on your kitchen table as you pull them off the shelves:
- Daily items: Plates, bowls, and drinking glasses you use every twenty four hours.
- Cooking tools: Pots, pans, baking sheets, and wooden spoons.
- Food storage: Plastic containers, food wraps, and clear lids.
- Rarely used items: Holiday platters, large soup pots, and extra appliances.
Step 2: Remove the items you do not need
Look at your piles with a clear eye. Throw away open packages of food that have expired, cracked plastic containers, and cups with broken handles. Donate extra baking pans, duplicate tools, and appliances you have not used in the past six months.
Sort through your plastic containers and matches. Put every lid onto its base right now. If a container does not have a matching lid, put it straight into your recycling bin. If you have ten coffee mugs but only two people live in your home, keep your four favorites and pack the rest to donate.
Step 3: Group your kept items by function
Put your items into clear categories so every item has a single home. Keep your baking goods together, your daily dishes together, and your pan lids in one spot. Sorting by use makes putting away clean dishes fast for everyone in your house.
Follow this standard order to make your work flow better:
- Put coffee beans, mugs, and filters near your coffee maker.
- Store cutting boards and chef knives right next to your main food prep area.
- Keep cooking oils, spices, and salt right beside your stove.
- Place plastic wrap, aluminum foil, and food bags close to the fridge.
- Put dish soap, sponges, and clean towels right under the sink.
Step 4: Reload your cabinets with intention
Put your heavy items and daily dishes on the middle and bottom shelves where you can reach them without straining. Reserve the highest shelves for light items you only pull down a few times a year, like party trays or paper plates. General housekeeping is much smoother when your heavy gear rests lower down.
Never stack items more than three deep. If you have to move five objects to reach one bowl, that setup will fall apart in a week. Use clear bins for small spice jars and stackable risers for plates so you can pull out what you need with one hand.


0 Comments